If you’re like me – a passionate dark mode user – you’re always looking to make every app follow your system default. After all, when you’re fully immersed in a world of productive darkness, there’s nothing quite like being surprised by a white screen. As demonstrated here:
A notable shining light in my dark mode life has always been Notepad++, where I previously struggled to get dark mode working. Turns out, there’s a wrong way and a right way to achieve that – and even in the latter case, there’s a caveat that you need to look out for. I should mention also that what I consider the “right way” is the method that makes the user interface dark and the editing window dark – not one or the other.
Here’s how to do it:
1) Click Settings, then Preferences.
2) Click “Dark Mode” in the list on the left.
And there you have it, the toggle to enable dark mode.
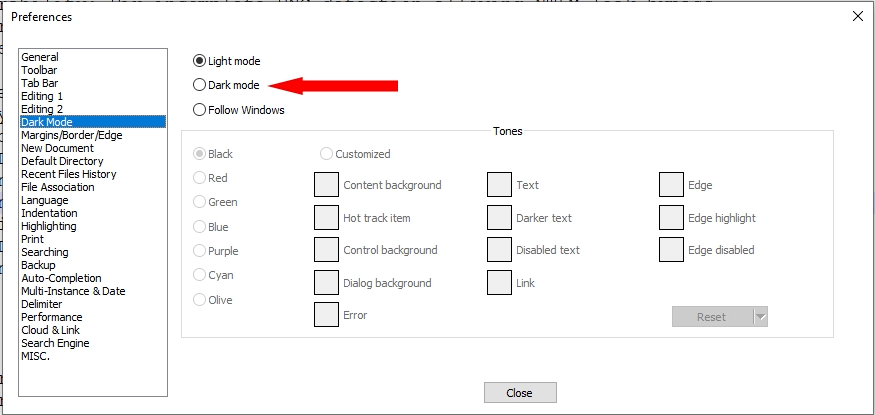
Now you might be thinking, “Matt, are you serious? A toddler could figure this out!” You’re quite right – when I guide you to that setting, you certainly see how simple it is. But the thing is, if you leave it at that, the next time you try to print something, you’ll realize that there was one unfortunate side-effect to enabling dark mode – everything you print while dark mode is enabled looks incredibly faint, as if you’re running out of ink. To learn how to avoid that, check out my other post titled How to Prevent Dark Mode Notepad++ from Printing Faint Text.
What if I just want the editing section to be dark?
In that case, you weirdo, you’ll want to do this:
1) Click Settings, then Style Configurator.
2) Select “DarkModeDefault” from the list.
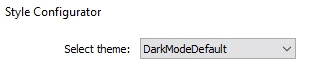
That’s what I considered the wrong way in the past – I’m not one to go for half measures. But if that’s what you’re trying to do, it’ll just do it – just keep in mind that the same printing issue will present itself, so make sure to check out my post to find out how to fix it.